- Order Summary
- Account
- Payment


Peyton Byford
Peyton Byford is an award-winning destination photographer based in Idaho & Oklahoma photographing weddings and elopements worldwide, often times with her videographer husband and two sons Bowie & Banks in tow. She is known for capturing her couples in a natural way that authentically preserves moments as they unfold. Her editing is also known for its timeless look and feel, keeping images true to color while naturally enhancing them. Peyton’s passion for traveling the world began as a hobby long before coming part of her career, so an escape to the mountains or an exotic trip away from home is always in the near future.
Tuscany
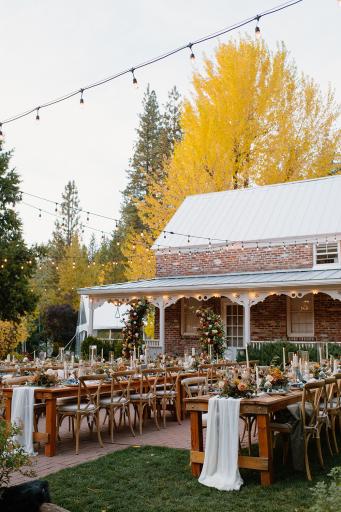
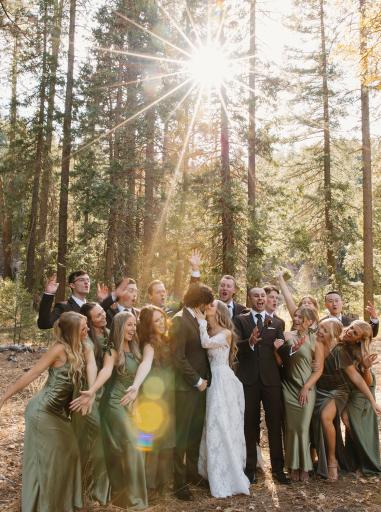
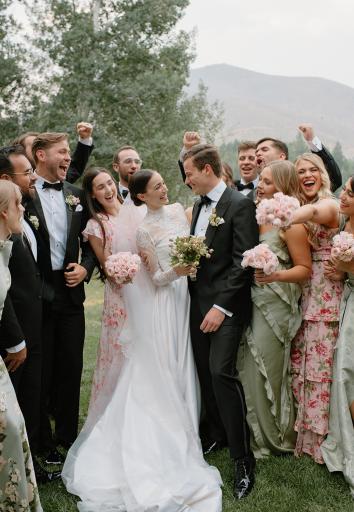
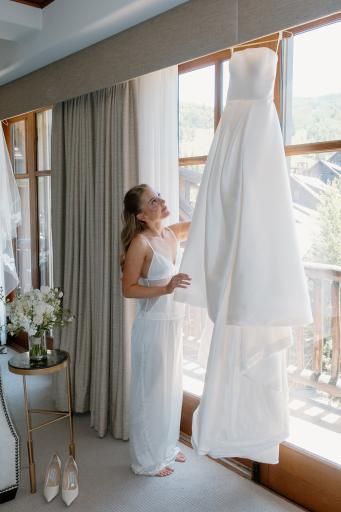
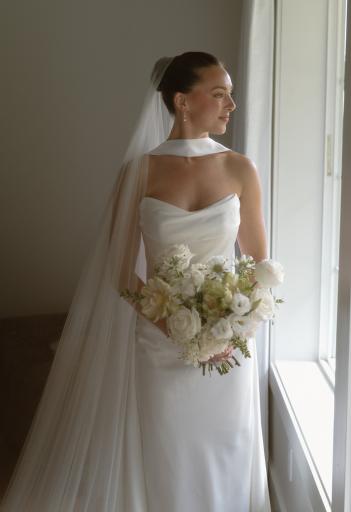
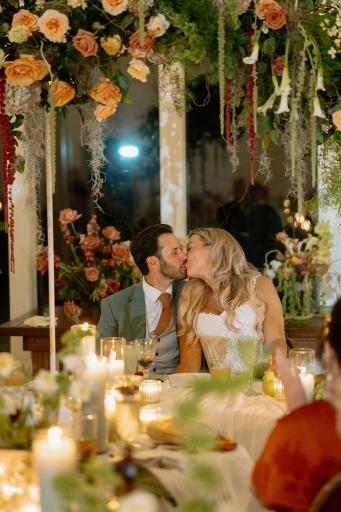
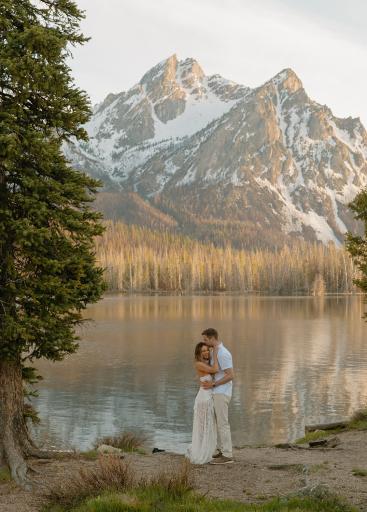
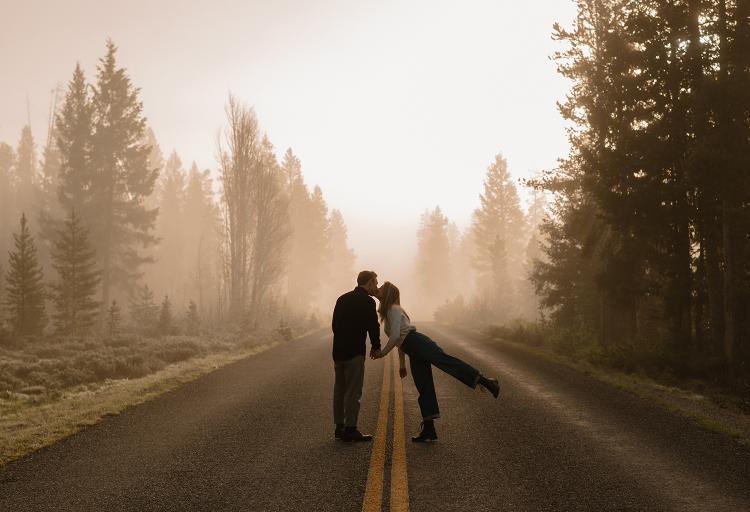
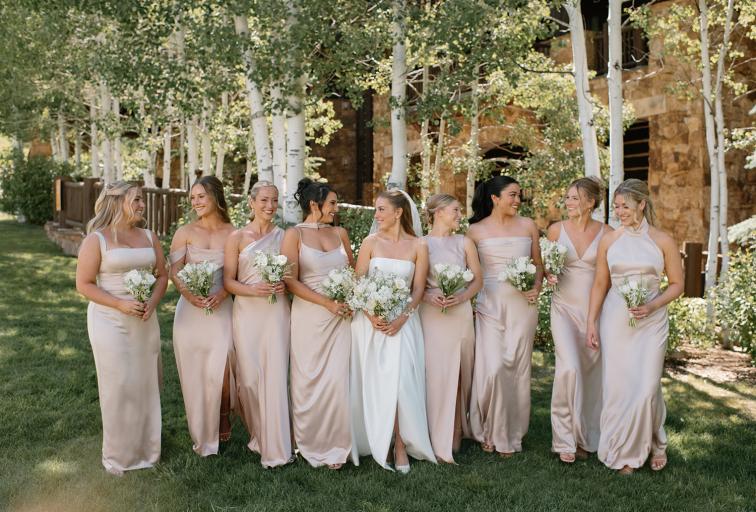
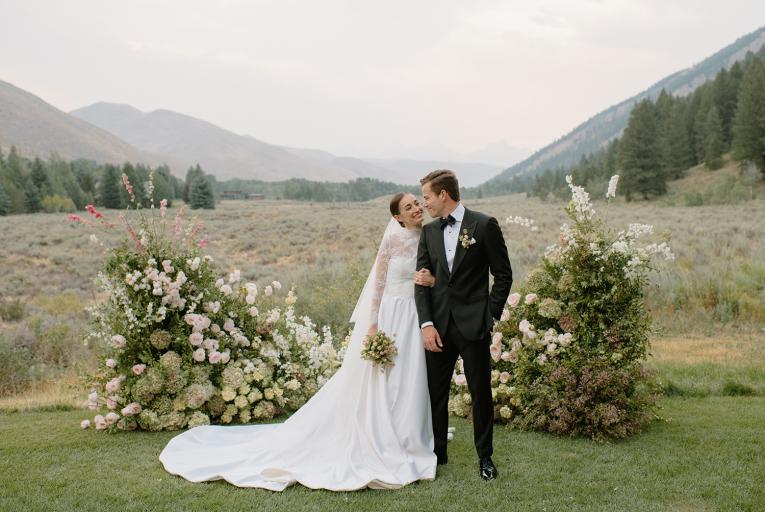
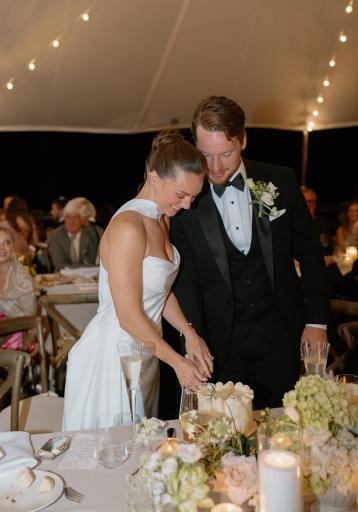
The Tuscany Collection was meticulously designed to give you those classic tones you love with an editorial feel. Tuscany delivers soft skin tones and keeps colors true while enhancing them just enough. The result is warm yet clean images that will work in any lighting scenario.
Supported Software
• Adobe® Lightroom® Classic 7.3 or later
• Adobe® Camera Raw 10.4 or later
• Lightroom mobile presets included (LR Desktop required for syncing)
Tuscany


Includes
- Tuscany I
- Tuscany II
- Tuscany III
- Tuscany B+W
- Tuscany Modifiers
- Tuscany Brushes
- Lightroom Mobile Presets
- Tuscany PDF
The same classic tones with an editorial feel
• Versatile, Elegant and Timeless
• Warm + clean images
• Adaptable to many different lighting scenarios

PRESETS
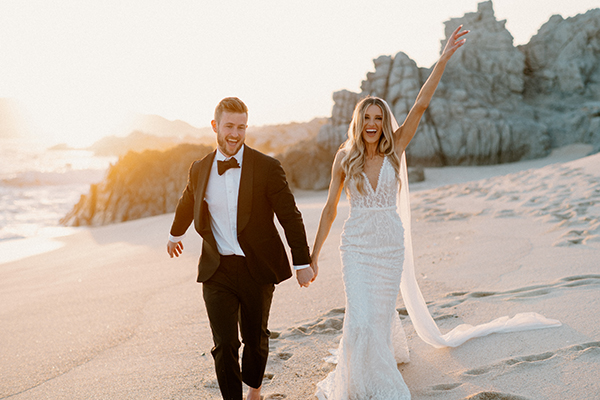
TUSCANY I
The main preset the Tuscany collection is based off of. It provides that beautiful warmth we’re all drawn to – but not too much so as to take away from the original colors of the image. True whites, soft skin tones, cooler shadows & greens, & tones that pop.
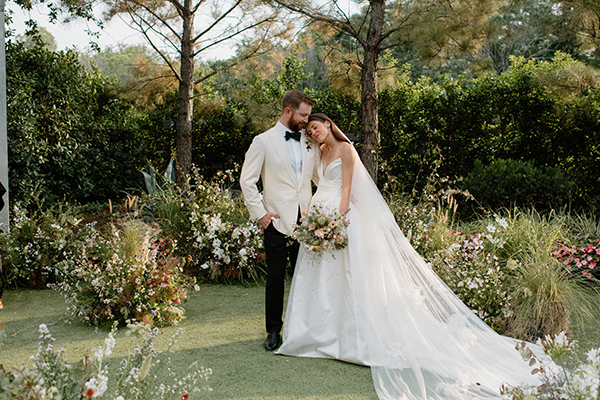
TUSCANY II
A modification of Preset I. I love this preset in situations where lighting and shadows are naturally much more contrasty and bold in real life, and therefore; starting out with an even cleaner, toned down preset helps to preserve the same editorial feel without having to make too many adjustments to preset I.
TUSCANY III
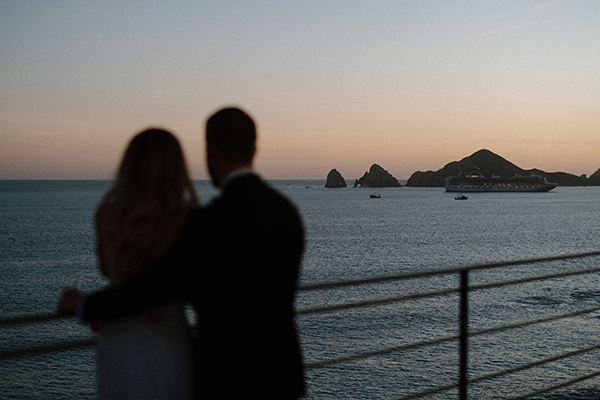
A fun twist on the classic preset by adding a cool filmy feel to the end result. I love mixing it up depending on the shoot / location and using this preset. Play with stripping all the grain for a clean film-looking shot or do the opposite by adding a little extra grain.
TUSCANY IV
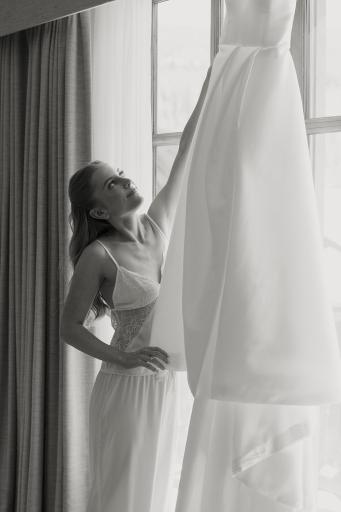
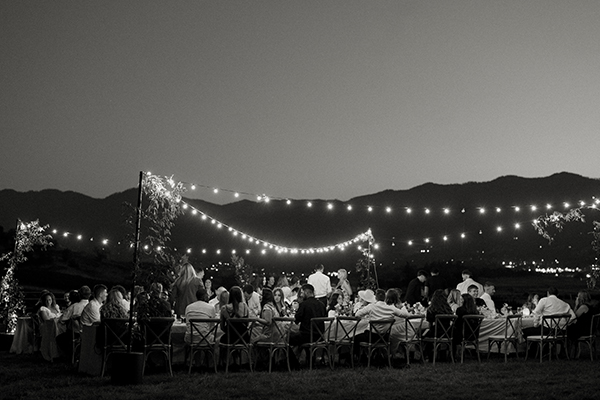
My favorite classic black and white, adjusted to feel like a filmier black and white upon first applying. Play around with the b+w modifiers to achieve the look you love.

COLOR PRESET MODIFIERS
COOL GREENS
Greens can vary in so many different colors - when needed, or for a bit of a different feel to your greens, cool / tone them down in one click.
TONING | COOL
Toning is where the majority of editing styles vary. These modifiers allow for the MOST versatility in your image. Cool them down by bringing out bright whites and cooler shadows while maintaining stunningly warm skin tones.
TONING | WARM
Adding just a bit more warmth to those shadows & highlights that makes the whites a little creamer and the colors even more golden - when desired.
TONING | WARM +
Taking warmth one step further with the golden tones. Perfect for sunset shots that allow the warmth to really dominate the image.
BLACK & WHITE PRESET MODIFIERS
OPEN MIDTONES | BRIGHTEN
Brightening the images highlights and creating an overall brighter black and white.
TRUE MONOCHROME
TI love a little bit of color and warmth in my black and white, but I also love a clean and classic black and white image. If you are battling with straying from the traditional, I understand the feeling and I’ve got you covered with this modifier.
BRUSHES
GOLDEN SUNSET
This brush is for amplifying the sunset and surrounding scenery to create that stunning golden hour glow. Gently brush it over the background and an image turns from duller colors to much more bold.
SKIN DE-RED
I use this on 75% of my images. Depending on the lighting scenario, skin can tend to look dark and red in shadows, or sometimes skin is naturally flush. No matter the cause, this quickly does the trick creating beautiful even skin tones and your subjects' faces or other areas of their skin are now clear and visible.

IN-DEPTH PDF
In depth PDF explaining the modifiers & brushes and when I use them so you can have a quick guide to reference! You won’t be left questioning what each one is for or how I use them.
PLUS
Detailed recommended camera and shoot settings to make sure you are fully set to make the most use out of the presets when you’re finally ready to edit in Lightroom.


